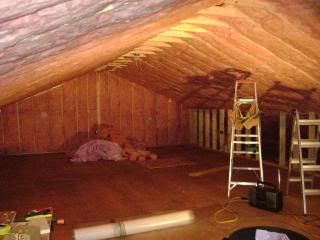
At this point, the building was up, it was winter (Nov. 2008) and time to insulate. Batts were placed in the attic walls between the studs at the end walls. Also we placed insulation between the ceiling joists, leaving an airspace at the top.
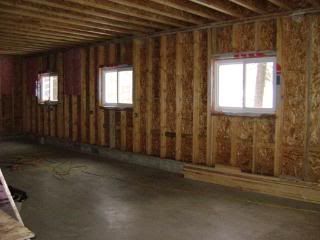
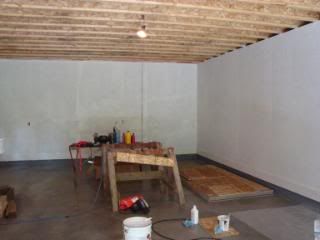
Here’s a view of the east side wall of my workshop before it was insulated:
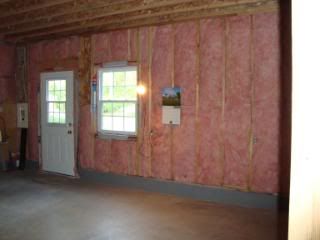
Insulation started, this is the front of my workshop, you can see the front door and window and the electrical panel in the corner:
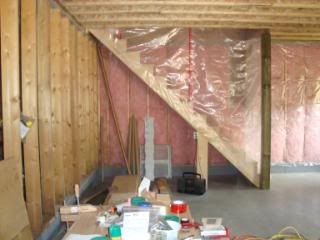
Excuse the mess, but here’s the stairs at the back of my workshop:
In June of 2009, I got started on the painting on the garage side before all the OSB was up on my workshop side. I used Kilz Original and put on two coats. This was hard to do because you really have to push hard on the roller to get it in all the recesses in the OSB and my hand pain problem was not compatible with all that roller work. Anyway, I did do it, here is the back wall of the garage and the dividing wall with one coat:
I started moving my tools into the shop so I could work on some things while it was still being finished off.
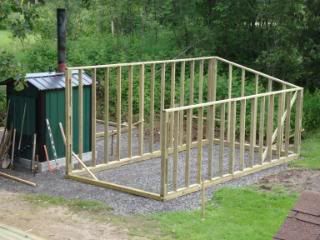
At this point we stopped working on the garage and had to make wood sheds to hold the wood that would heat the garage/workshop and the house for the winter. The previous heating season we piled wood beside the outdoor furnace under tarps, which was not so much fun in -30C weather. We designed a shed for each side of the furnace that would each hold about 20 face cords.
Here they are finished with the steel roof on top and partially loaded:
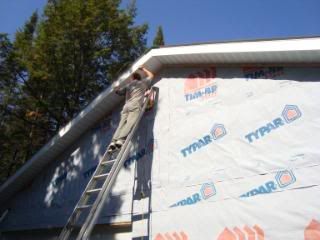
Then in Sept. (2009) my husband put up the soffit and fascia around the outside of the garage/workshop so that no more animals or birds could get into the eaves, as we had birds nesting there in the spring:
... still more to come...
See WORKSHOP PART 6 here
Labels: workshop