This is Part 8 of a series that starts here
Finally hanging the doors is the next step in this long process.
I stand my doors in the opening they will go in and put them on a flat scrap of wood, just enough to give the clearance under the door that I want. I use about 1/8" - 3/16" up off the floor. Then I mark the top and bottom of the hinge recesses I've already cut out on the doors. I tape a hinge onto the door frame at the correct spot and trace around it with a pencil:
Then I carefully cut around the pencil marks, to a depth of about 1/16", with a sharp knife:
As I showed in the previous post, my router bit was set to the thickness of the hinge:
Then, I routered out the space by hand being very careful to stay inside the cut lines. I could have tried to clamp some type of stop blocks on the frame, as I did for the doors, but I didn't do that.
This was a little difficult to do the top hinges, since I had to stand on a chair, but anyway...
I was very careful and watched through the opening in the router base to see where I was:
I cleaned up the uneven spots and squared up the corners with a chisel and the hinge fits right in:
My dogs watched the process intently!
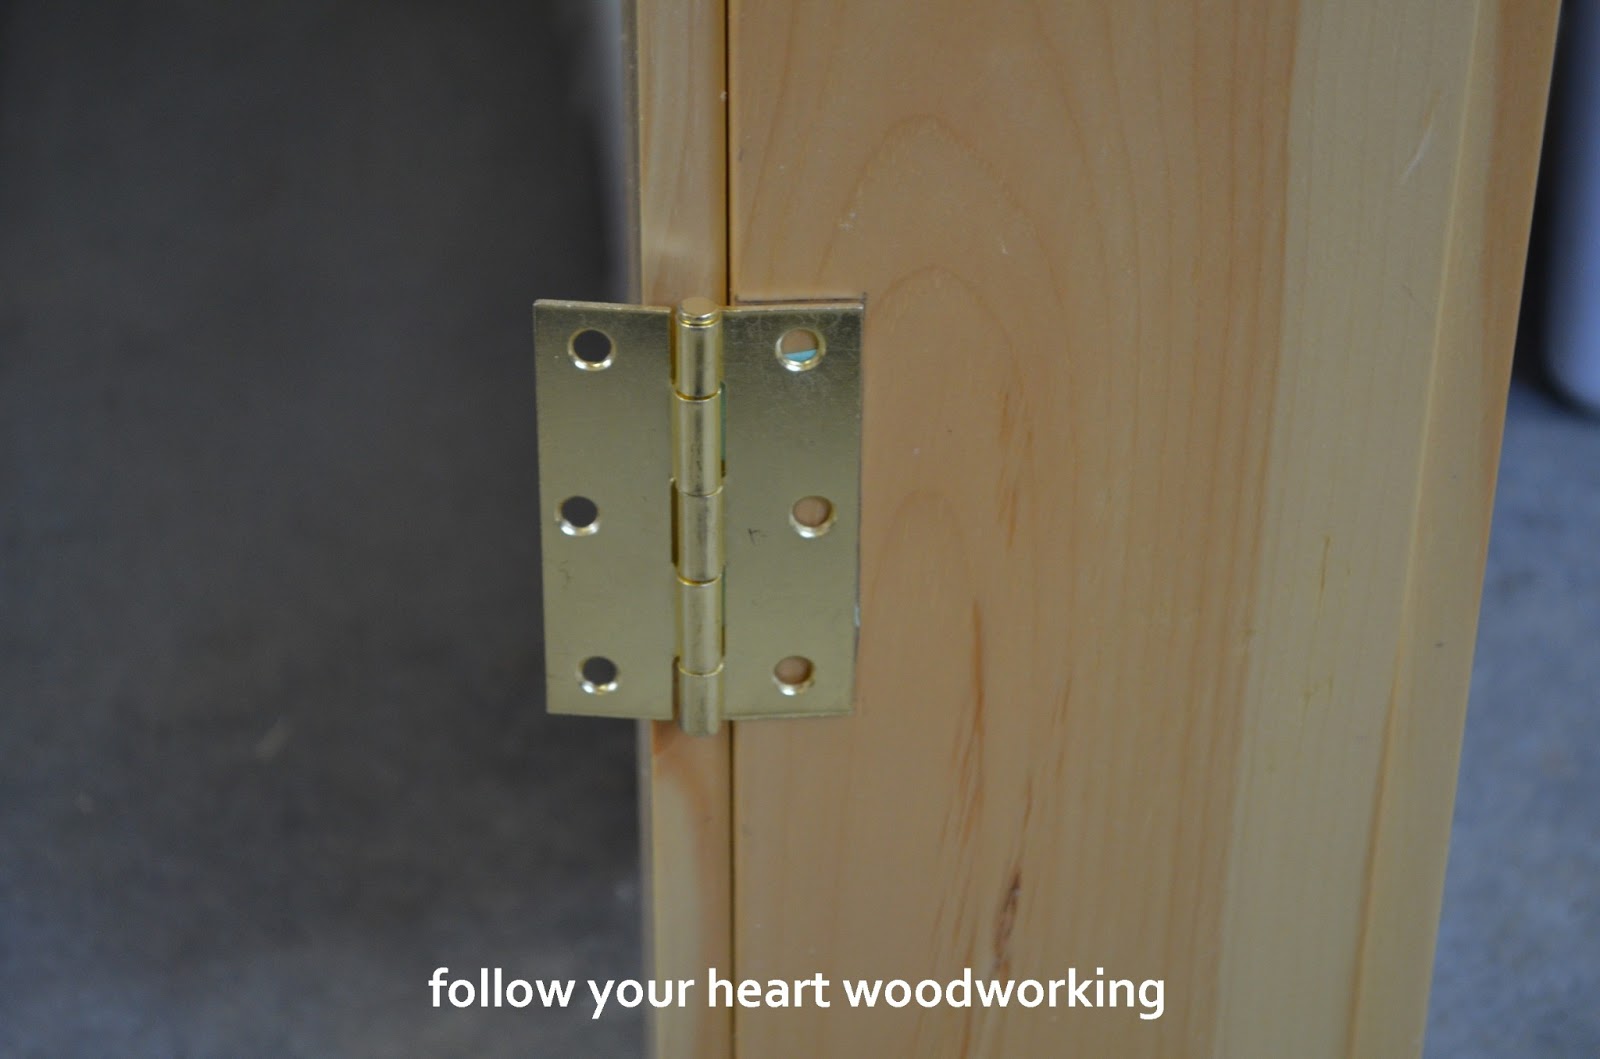
These are hinges with removable pins so I screwed each hinge side to the doors and the other side to the frames. Then I lined them up and dropped the pins in.
I have not finished the door rails and stiles with polyurethane yet, just the panels and the door frames, so the colour is different, but here's the doorway between my shop and my front room:
and here is the doorway between my shop and my husband's garage:
Now I need to make some door stops, the narrow strips on the door frame that doors butt up against when closed. Also I have to cut the windows and make strips to hold them in.
Sharing at the following blogs:
Labels: pine, router, workshop