As I said in a previous post, I decided to make a chalkboard wall in the store area of my workshop house. Actually this wall has been painted for a few months, but I needed to wait for the floor to be in before I could continue. And the floor couldn't go in until the walls were done (because I didn't want to get paint splatters all over it)... so I finished the
planked walls and the
laminate floor and finally it was time to get to the chalkboard wall. It's actually a wall and a bit, because I decided to turn the corner and paint the chalkboard paint to the left of the door that leads to the workshop.
This is how my wall looked after I put the freshly painted baseboards on:
Now, chalkboards need to be conditioned before they are used. If you don't condition a chalkboard you will always see the first thing you wrote on it. To condition you prime the chalkboard by laying chalk on it's side and cover the whole surface:
Then you rub in the chalk with your fingers and wipe it down with a cloth:
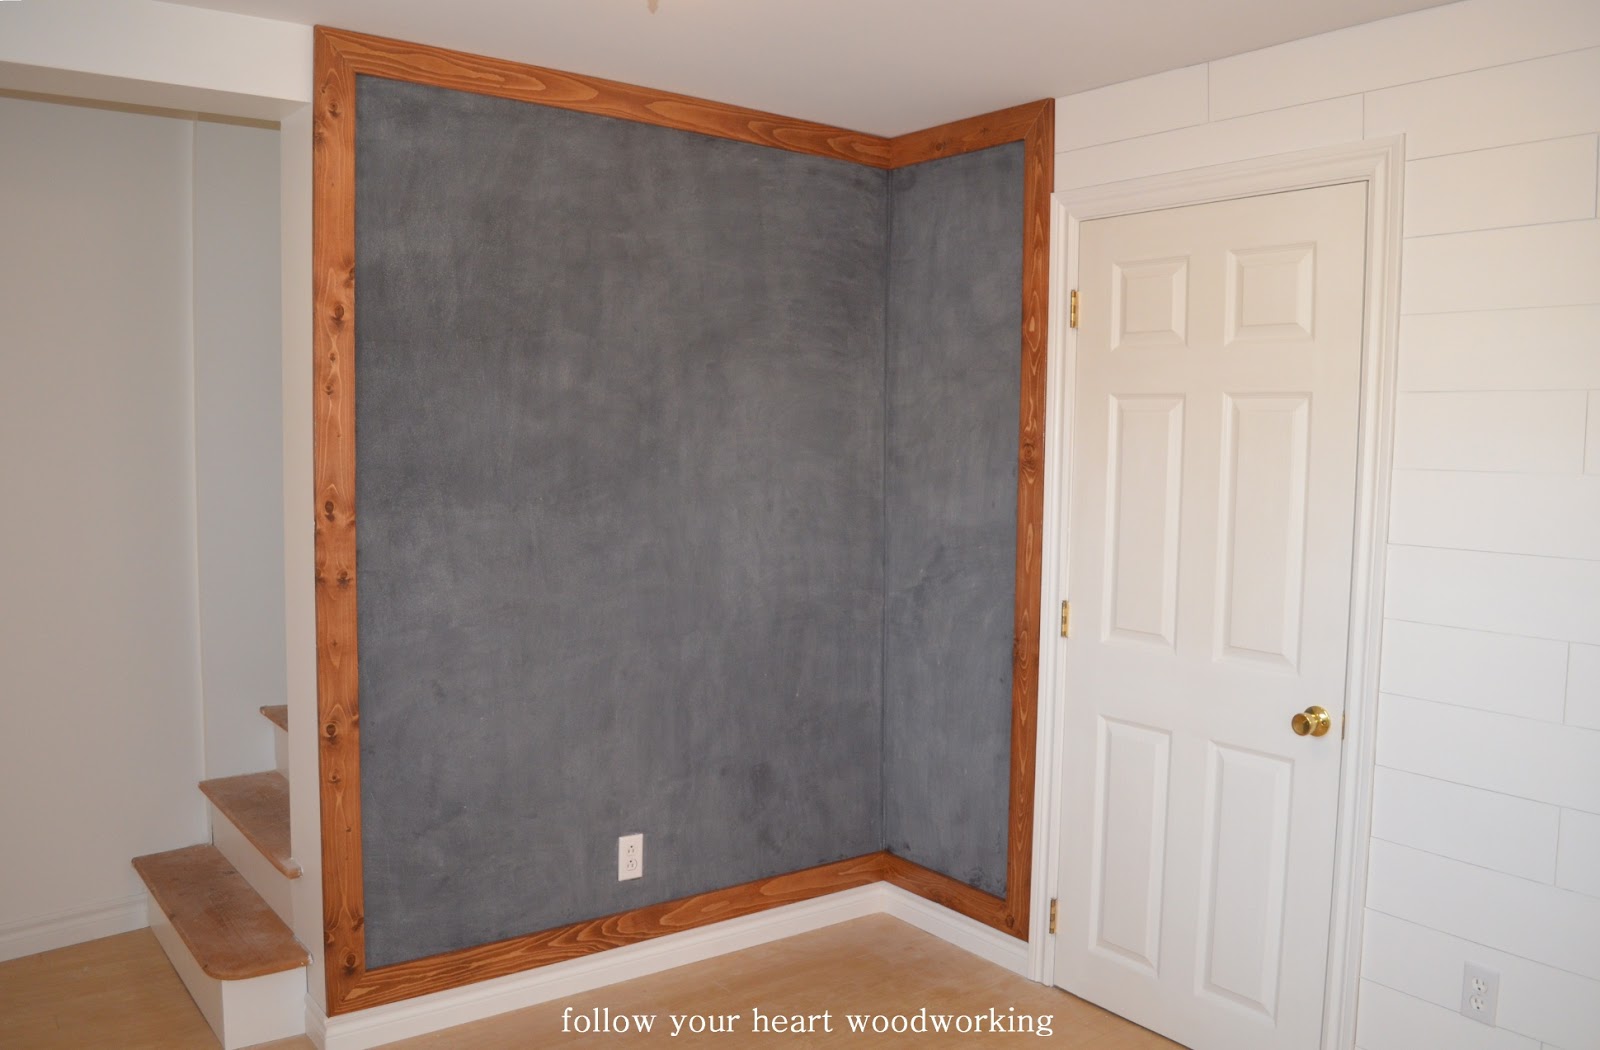
I felt my chalkboard wall needed something else, so I made a frame for it using lumberyard 1x4s, some stain and two coats of shellac:
The corners are mitred:
And then I added a little something for fun:
So, the retail area is basically done, although I do need to make myself some type of counter to sit at, in front of the chalkboard wall. And I need to get my creations in there!
Featured at:

Sharing at:
Elizabeth & Co. Vintage
The Creative Muster Linky Party
Handmade Hangout
Shabbilicious Friday
Treasure Hunt Thursday
Make It Pretty Monday
Talk of the Town
DIY Like a Boss


I've read every post on your store/workshop renovations with anticipation. The floor, trim and now the chalkboard 'frame' make everything pop. The chalkboard wall area and now with the counter in front hint things are coming together quickly.
ReplyDeleteJoy
Thanks for following along, Joy!
DeleteLove, love, love it! Thanks for sharing it at Talk of the Town - I gave you a shout-out on Facebook - https://www.facebook.com/KnickofTime
ReplyDeleteI think the frame makes it stand out so much and something special! Thanks for linking up to The Talk of the Town party!
ReplyDeleteJulie,
ReplyDeleteI LOVE your chalkboard wall!! The framing of it really made all the difference. Beautiful job!
thanks for linking up to The Talk of the Town party!
gail
The frame really makes a difference. Was it hard to get the chalkboard paint even over such a large area?
ReplyDeleteThis is awesome and the frame was the perfect finishing touch! And your lettering...wow, so good!
ReplyDeleteThis is fabulous! I love the wood frame- it really sets it off! Thanks for linking to the Handmade Hangout! I'll be featuring this on my blog (www.occasionallycrafty.com) today when the new linky goes live at 6pm ET. I hope you'll stop by and link up again!
ReplyDeleteI thought it couldn't look any better and here you're proving me wrong, It's fabulous! Love, love the chalkboard with that pretty frame!
ReplyDeleteAlways a fan of chalkboard - love it!
ReplyDeleteI think the frame is a wonderful addition to your chalkboard! Can't wait to see you shop come together. Featured at Be Inspired this morning. Thanks so much for sharing!
ReplyDeleteFabulous wall and such a good use of space. Can't wait to see your creations that you fill it with.
ReplyDeleteEEK! That is gorgeous and the frame is the perfect finishing touch!! Love your chalk art work too. You are multi-talented my friend.
ReplyDelete